

Make Your Garter
Whether you are planning on DIYing everything in your wedding or hiring vendors to do it all, this simple DIY project is a great way to get exactly the look you want for your garter. You can use any style of stretch lace, brooch, or ribbon to make it your own. Also, did we mention we assembled both examples in under 10 minutes? Yes, you too can DIY!

Measure your leg 4" – 5" above your knee, snug. Add an additional inch and cut your stretch lace.
Glue the lace ends together by overlapping each end by 1/2". Make sure to line up the pattern.

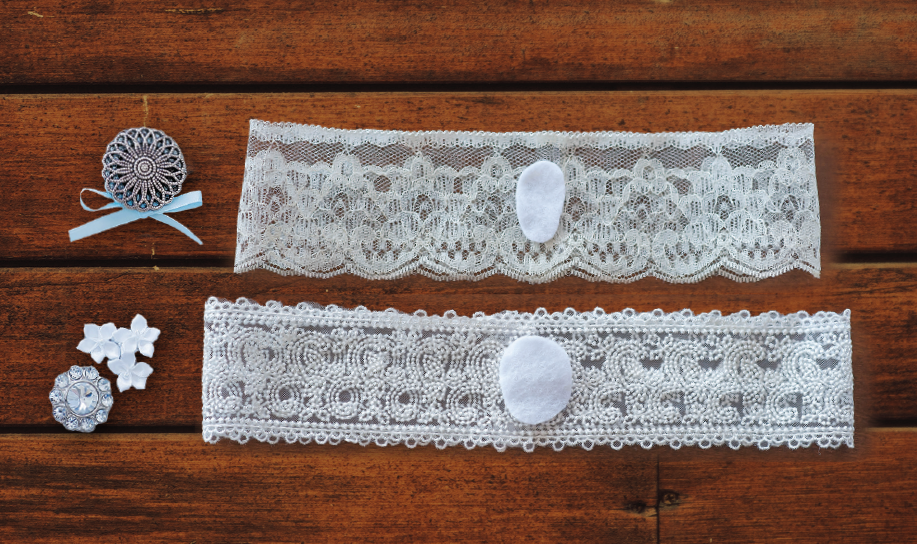
Arrange your appliqués (rosettes, brooches, bows) on the table so you know how you want them glued down.
Measure the length and width of your embellishment cluster. Using these measurements, cut an approximate oval shape from your felt square to glue to your garter. It will go in this order: stretch lace, felt, embellishments.
Glue the felt down to the lace.
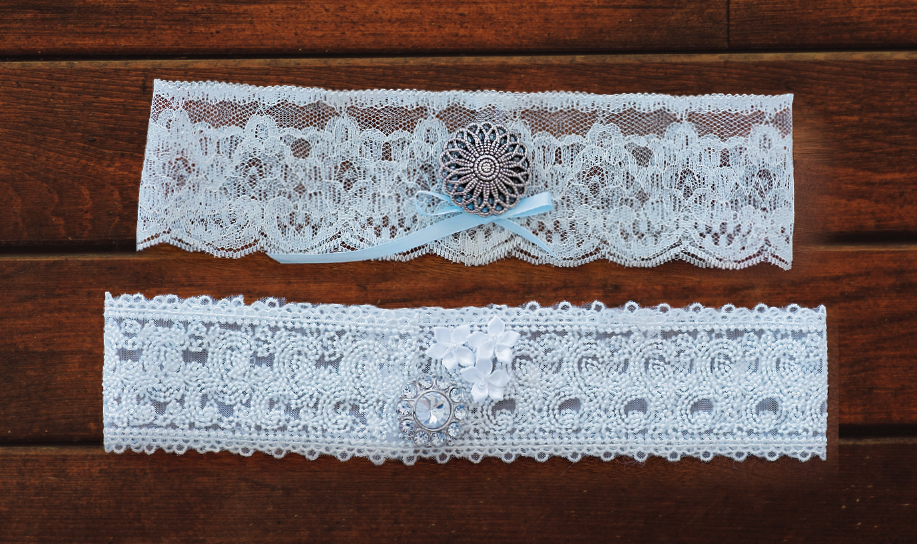
Glue the appliqués. You will add and glue your embellishments on top of this area, one at a time, to hide the seams and to create a seamless garter.
AND … TA-DA!!! That's it! You've created your unique, handmade garter for your special day. Glue guns are amazing.


See Samantha and Kayne's DIY wedding.

See everything we're OBSESSING over in the Spring 2016 Issue.
Find ideas to make mom feel just as special as you on your wedding day.
VENDORLUST
Thank you to Sarah Rooney Photography for shooting our step by step DIY creation!